How Can We Help?
How to add an Additional Domain Name in DirectAdmin
Step 1: Log in to your DirectAdmin Hosting Account
- Open your web browser and navigate to your DirectAdmin login page. The URL should be something like: example.com:2222 (replace “example.com” with your actual server’s hostname or your own domain name).
- Enter your DirectAdmin username and password to log in to the control panel.
Step 2: Navigate to Domain Setup
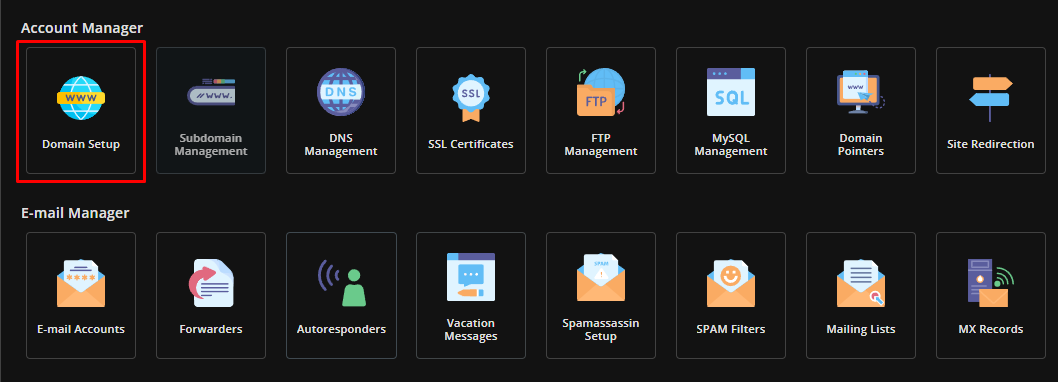
Once logged in, navigate to the Account Manager section and click on Domain Setup
Step 3: Add the domain
- Click on the Add Domain button.
- In the Domain field, enter the new domain you would like to add.
- In the Bandwidth field, enter the amount of bandwidth you would like allocated to the new domain on a monthly basis. We recommend simply ticking the Same As Main Account checkbox.
- In the Disk Usage field, enter the amount of storage you would like allocated to the new domain on a monthly basis. We recommend simply ticking the Same As Main Account checkbox.
We would recommend also ticking the Secure SSL and PHP Access options as well. Simply click on Create once you have filled out the fields.
Step 4: Configure your domains DNS/Nameservers & SSL
- After adding the new domain, you need to change your domain nameservers to point to the nameservers of your hosting account. These details were sent to you via email when the hosting account was first created.
- Once the domains DNS has propagated, you can also issue an SSL certificate for the newly added domain.
